Showing posts with label JoAnn Fabric. Show all posts

Wednesday, October 6, 2010

Pretty Program Box


I finished our program box tonight. I started it yesterday so this has been my fastest DIY project so far. Yay!

I was inspired by this program box/card box that I found on Etsy a few months ago (FYI, the seller, Shea Chic Designs, has evidently filed for bankruptcy recently. She didn't send a ton of buyers their purchases and owes many of them money. Not good.). Now, back to happy thoughts of DIY!

I used the same green paint that I used for my card box. I also used the same kind of pink peony that I used for my topiaries, except I edited it a bit to get it to lay more flat.

My supplies:
10" paper mache box (JoAnn Fabric)
Paint (Lowe's)
Sponge brush (Lowe's)
Silk peony (JoAnn Fabric)
Ribbon (JoAnn Fabric)
Rhinestone button (JoAnn Fabric)
Double-sided tape
Glue gun & glue
Scissors


Instructions:
1. Paint the inside and outside of the paper mache box. 2-3 coats is best. Allow for ample drying time in between coats.

2. To get the flower to lay more flat, carefully cut out the first layer of clear pieces inside the flower that lift the petals. If needed, apply double-sided tape in between some petals and adhere petals to one another in order for them to lay flat.

3. Cut the yellow center off of the flower.

4. Cut the button part off the back of the rhinestone button.

5. Apply glue to the center of the peony.


6. Stick the rhinestone button onto the glue and hold in place while it dries.

7. When paint is dry on box, begin applying ribbon, securing with double-sided tape.


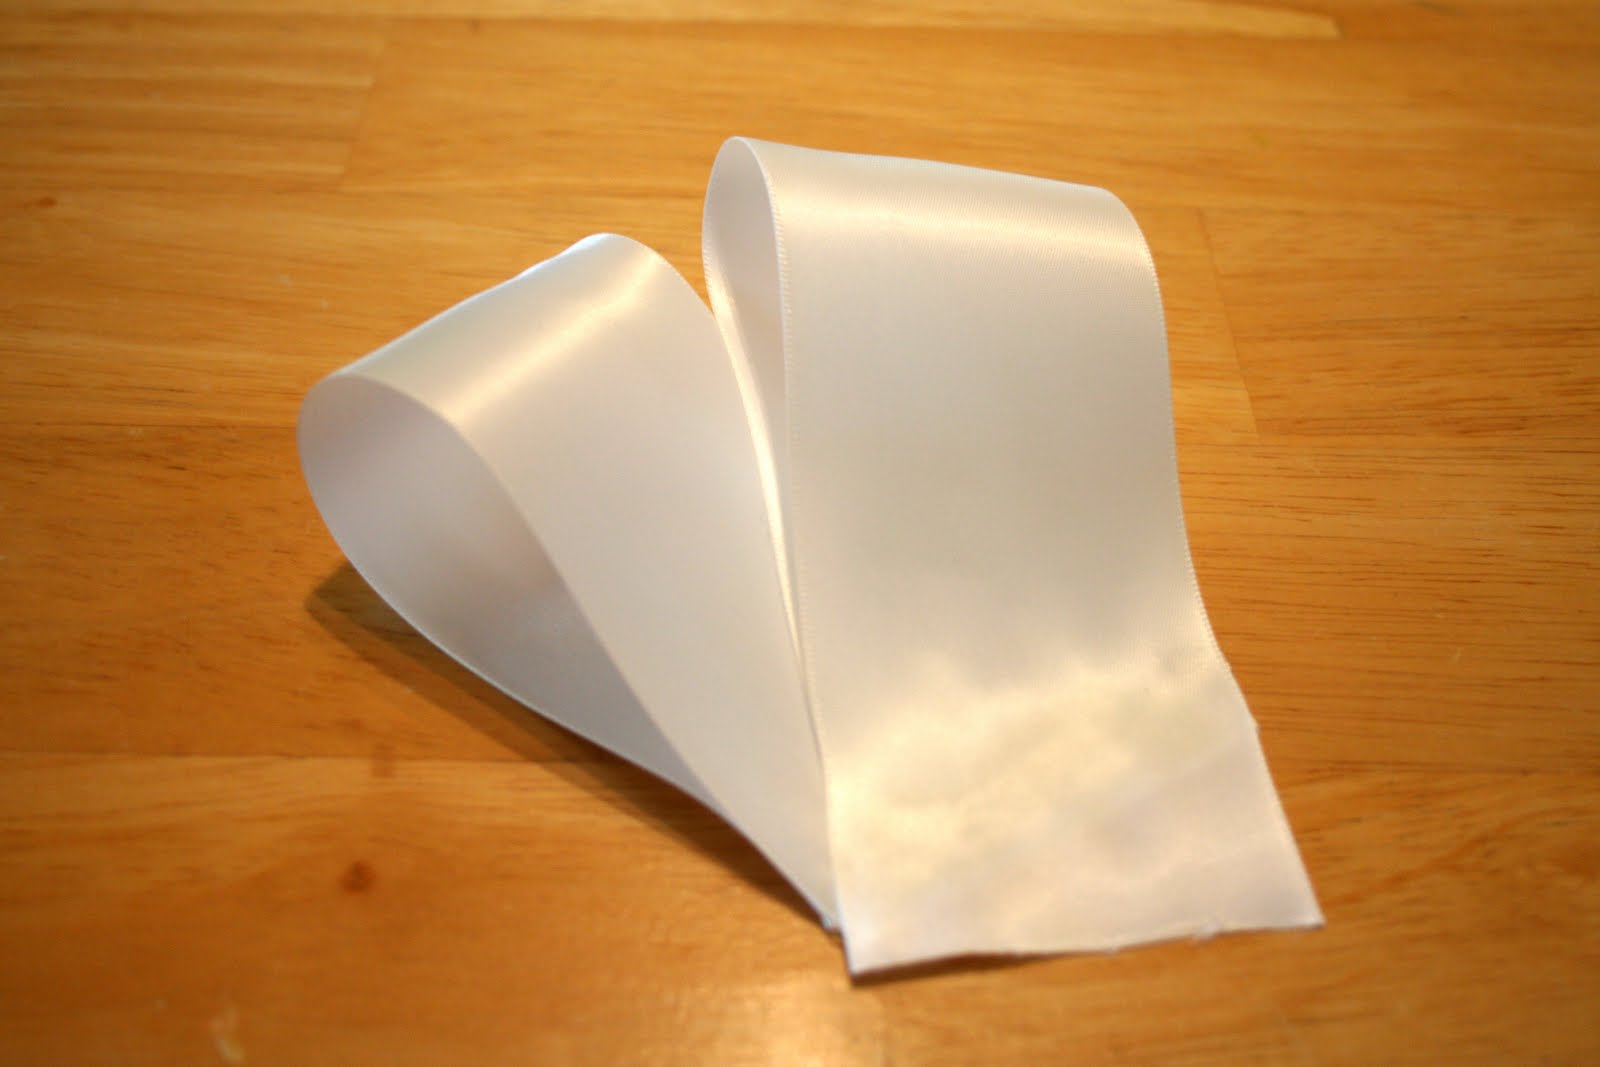
8. Make bow by cutting approximately 20 inches of ribbon. Make two big loops with the ribbon.


9. Secure the loops with small bead lines of glue at each lower fold and/or where the two pieces of ribbon meet.


10. Glue the peony to the bow.


11. Glue the bow/peony to the box on top of the ribbon.


Friday, September 24, 2010

Topiary Fun!


We're getting married in front of a large, double-sided, stone fireplace. I decided to make two pink peony topiaries to set on the left and right ledges of the fireplace.

I set out, purchased, and gathered the following materials:
  • Two 6 inch foam balls (JoAnn Fabric)
  • Two white pots (Menards)
  • Silk pink peony sprays (JoAnn Fabric)
  • Floral foam (Dollar Tree)
  • One bag of Spanish Moss (Michael's)
  • Bundle of 5 twisted willow branches (JoAnn Fabric)
  • Scotchgard (Walmart)
  • Hot glue gun
  • Tape measure
  • Hedge clippers
  • Knife


Instructions for how to make one topiary:

1. Take the peony heads off of the stems.

2. Begin placing some of the peonies in the foam ball to determine spacing.

3. After determining spacing, remove the peonies.

4. Begin applying hot glue to the green tip of peony and inserting it in the pre-made hole.

5. Continue step 4 until the entire ball is covered with peonies.

6. Insert 4 floral foam pieces into the pot

7. Determine the center of the pot and insert a bundle of twisted willow branches into the floral foam.

8. Use the remaining 4 floral foam pieces to secure the willow branches in the pot. You may need to use your knife to cut the foam to fit.

9. With your tape measure, measure 16 inches up the willow branches and make a notch with your scissors or knife.

10. With your hedge clippers, chop off the willow branches above your notch.

11. Take your peony ball and insert it on top of the willow branches, making at least a 1 inch hole in the foam.

12. Insert hot glue into hole in foam in peony ball and immediately place on top of willow branches. Hold it in place for a few minutes, allowing the glue to dry.

13. Lay the Spanish moss over the floral foam in the pot, covering it so that the floral foam is not visible. If you wish to secure the moss, glue it to the floral foam using the glue gun.

Here is the breakdown of the expenses:
2 white pots: $12.00
2 stryofoam balls: $5.00
4 bundles of silk pink peonies: $37.52
4 packages of 4 pieces of floral foam: $4.00
1 bag of Spanish moss: $2.50
2 bundles of 4 willow branches: $2.50
TOTAL: $63.52 for two... $31.76 each

Yeah, I know, they were kind of pricey. But I can use them as a decor piece in our home after the wedding, or I can sell them with my other wedding items and hopefully recoup some of the costs. Plus, when my florist mentioned topiaries for our ceremony she quoted me $65-$155 per topiary (although they would be larger), so I think I definitely saved when looking at it from that perspective.

Tuesday, September 21, 2010

The Never-Ending Card Box Project


After almost 2 weeks it's done!
At first I was going to cover the boxes with satin fabric, so I spray painted them white so the brown of the paper mache didn't show through the fabric. The fabric didn't work out so swell, so I decided to paint the boxes. I went to Lowe's and purchased a half pint (sample size) of latex paint in white. I painted all three boxes white. After painting them all white I decided that I should paint one box green and one box pink. So I went back to Lowe's and picked out a green and pink that best matched the ribbon I was using. The green was great-- the pink, not so much. So I went back, again, to Lowe's for a darker shade of pink. I painted the box the darker shade of pink and it was too dark. So I decided to mix the paints and make my own shade of pink. (I swear the bottom box has 10 coats of paint.) Finally, success!

After what seemed to be endless painting, I cut out the tops and bottoms of the appropriate boxes with my Xacto knife. After cutting out the tops and bottoms, I started decorating the boxes with ribbon. I secured the ribbon with double-sided tape.

I purchased the white, 3 x 5 picture frame at Kohl's. I wrote "Cards" in green, BrockScript font and printed it on textured scrapbook paper.

My supplies:
Paper mache boxes (14" round, 10" square, 10" round)
Paint
Sponge brush
Scissors
Xacto knife
Double-sided tape
Ribbon
Silk peonies
Scrapbook paper
Picture frame
Instructions for Card Box:
1. Paint the paper mache boxes using your paint and sponge brush. Two coats are best. Allow for ample drying time in between coats.

2. After the paint has dried begin cutting out the tops and bottoms of the boxes.

3. Begin with the middle box. With a pencil, draw a square 1 inch inside the edge of the bottom of the box. With the Xacto knife, cut along the pencil line.

4. Use the medium box as a guide-- place it how you want it on top of the large box lid. With the pencil, trace along the cut-out edge. With the Xacto knife, cut along the pencil line.

5. Moving on to small box. With the pencil, draw a circle 1 inch inside the edge of bottom of the box. With the Xacto knife, cut along the pencil line.

6. Use the small box as a guide-- place it how you want it on top of the medium box lid. With the pencil, trace along the cut-out edge. With the Xacto knife, cut along the pencil line.

7. Decorate the boxes as you wish.

8. If decorating with ribbon, use double-sided to secure the ribbon to the boxes.

9. When finished decorating the boxes, secure the boxes to each other by applying a thin bead of hot glue from the glue gun to the inside edge of the bottom of each box.

10. If decorating with silk flowers, attach with glue gun and glue.

Instructions for "Cards" sign:
1. Print the word "Cards" on colored scrapbook paper.

2. Cut out to fit 3.5" by 5" picture frame.

3. Insert into picture frame.


Sunday, September 19, 2010

Bargain Shopper

I credit my frugal mother for instilling the value of never paying retail price for items. Love that sweater? Don't worry, it'll be on sale next weekend. That's what she would always tell me and usually she was right.

Obviously I've used this value in my wedding planning abilities when possible (lets face it, I can't use a coupon for all our vendors). My frugality mostly comes into play with my DIY projects. I've frequented various websites and stores to find certain items for my projects.

Craigslist
  • I found a former bride selling 28 clear cylinder vases from her wedding for $3. I met her in the parking lot of a local university and made the transaction.
  • I found another bride selling manzanita branches from her wedding for $4 each. I went with my MOH to the bride's mother's house to pick up the branches.

  • I decided to branch out one night and search the Chicago Craigslist postings since my MOH lives in Chicago, and I try to go up there as much as possible. I ended up finding a bride who was selling $18 table number holders for $15 (these little puppies would have cost me ~$40 from the store). My MOH graciously agreed to meet her at a Starbuck's to make the transaction for me.
Michael's
  • I LOVE those little 50% off and 40% off regular retail price coupons. I always have them in my car. Seriously.
  • I bought all of my votives from Michael's. 50% off, of course. 12 for $3.99.
  • Things I've purchased from Michael's: circular hole punches, scrapbook paper, ribbon, styrofoam ball (for topiary), aisle runner ($15! 50% off coupon!).
JoAnn Fabric
  • I wish JoAnn dished out the 50% off and 40% off coupons like Michael. Prude. Oh well, I still frequent her store... with my 40% off coupon in hand.
  • Things I've purchased from JoAnn's: ribbon, paper mache boxes, silk pink peonies.
Hobby Lobby
  • Love the 40% off regular retail price coupons from Hob Lob. They run good weekly sales as well. Watch the fine print though, today I tried to buy a wooden Halloween sign thinking it was 50% off, but Halloween products made from wood weren't included. Looks like I'll be going back for my "Trick or Treat" sign later...
  • Things I've purchased from Hobby Lobby: ribbon, styrofoam ball (for topiary).
Target
  • Watch those end-cap clearances! I found 8 packs of floating candles for $2.78 each and 6 packs of large unscented tealights for $1.74 each.
Goodwill
  • I haven't purchased anything for the wedding from Goodwill... yet. Stroll down their glassware and houseware aisles. They usually have great vases for $.99 to $2.99. I see a lot of Mason and Ball jars too.
  • Watch for their sales too! Today it was 50% off Saturday. Everything in the store was 50% off!
Paper Lantern Store www.paperlanternstore.com
  • I bought my paper lanterns from here. I think they have pretty good prices.
Dollar Tree
  • Where everything costs $1!
  • I bought some clear, cylinder vases and styrofoam from DT.
Related Posts Plugin for WordPress, Blogger...